Saturday, December 22, 2012

December 22: Insulation is added

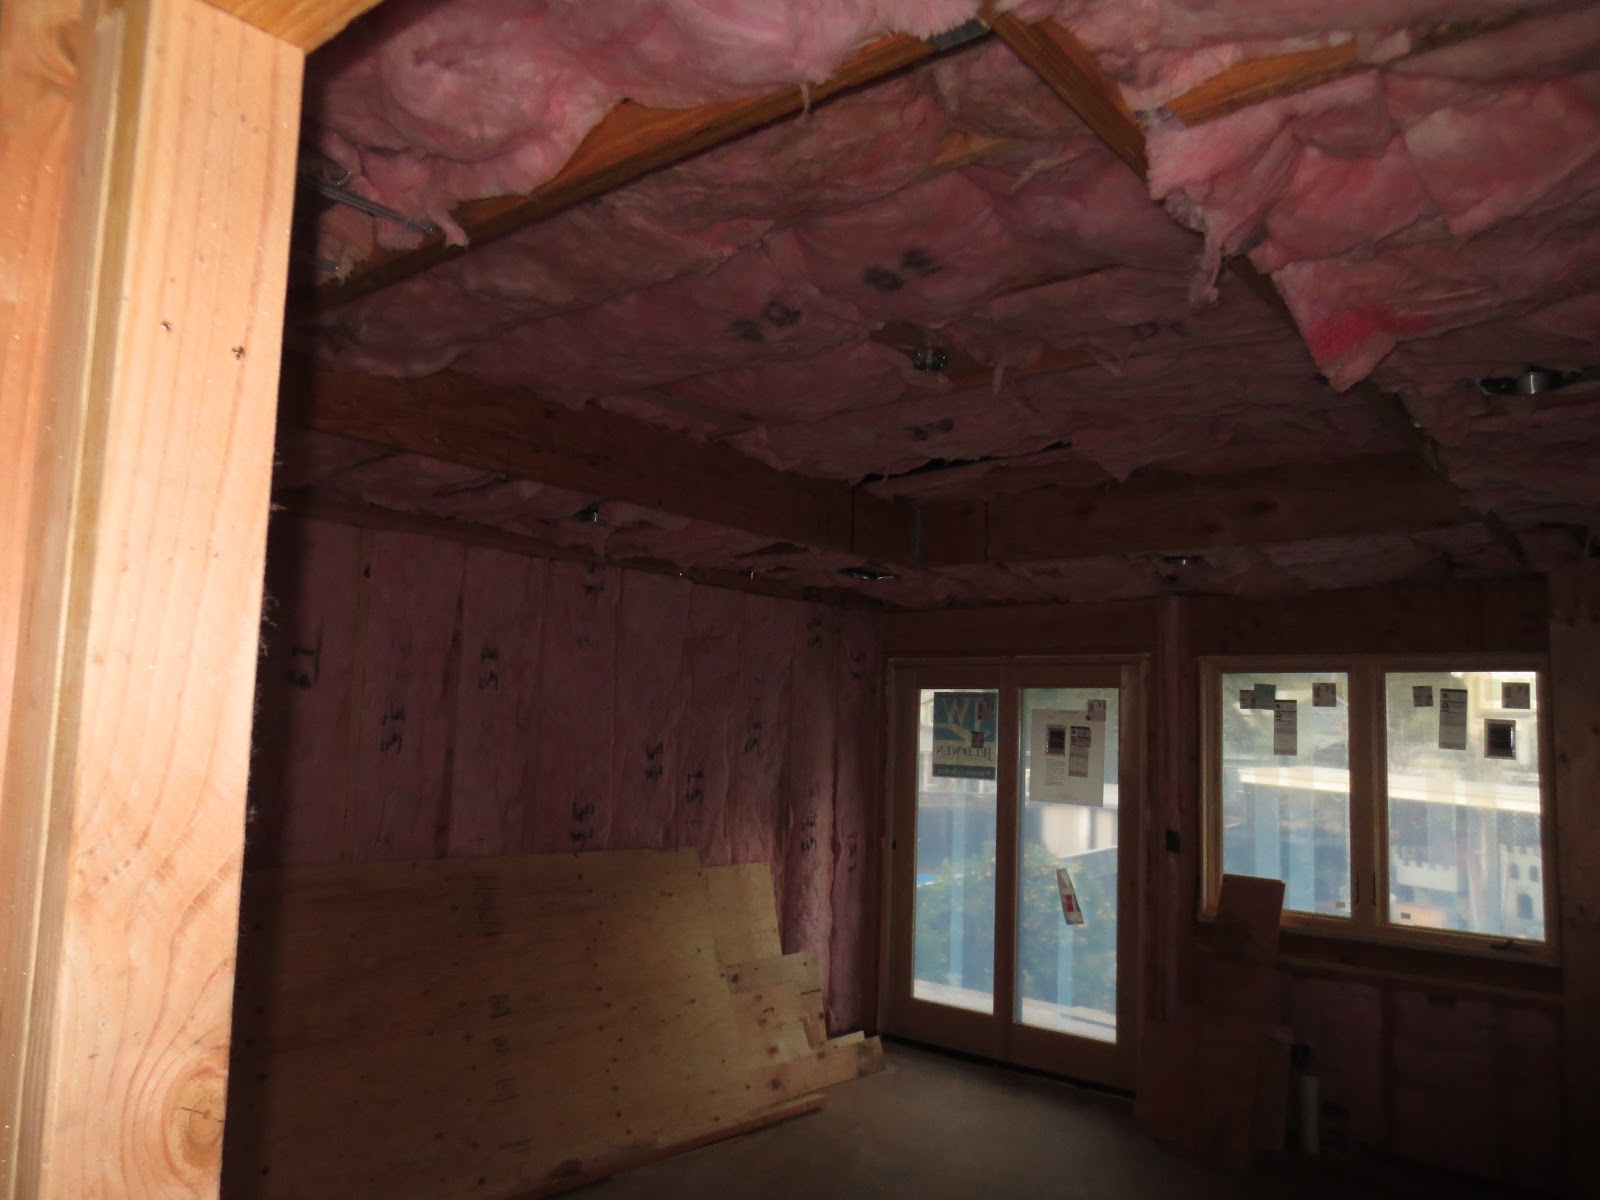
Entryway with insulation.  We are also insulating the interior walls.  This will make the house a bit quieter.

The front right corner in the living room.

Backing into the same corner and turning around.  The rest of the living room now insulated.

The clipped corner with the electrical box covered in insulation.  The armor plates are ready for installation.

The dining room part of the living room.  Looking towards the hallway.

The family room (great room) from the hallway.

The kitchen is being completed.

They use this forked stick to push the insulation in place.

A view of the partially insulated kitchen.

A view of the family room with insulation.

Cali's bedroom looking towards the closet.  I redid the closet opening (made it wider) so that we can reuse some nice solid wood bifold doors.


Cali's bedroom.  The plywood are interior sheer walls.

Cali's room again.  On the left is the bathroom she'll share with Alex.

Entrance to Alex's bedroom.

Alex's bedroom.  She's got interior sheer wall too.

The bathroom shared by Alex and Cali.


The stairwell.  The wall on the left is a large sheer wall. The hole below the window is the HVAC return.

The guest bedroom.  Lots of interior sheer wall here.  We still need to get the ceiling insulation.

The laundry room.  More sheer wall. The side door.  The washer and drier will be against the wall on the left.

Another picture of the stair well from the half-way landing.  More sheer wall.

The master bedroom from the door.

The master bedroom again. The door is to the right.  More sheer wall...

The master bedroom closet.

Inside the master bedroom closet.  The heating duct comes through here up from the laundry room.  This particular duct takes a long route.  The units are in the attic.  A large supply line drops down near the front of the house to the crawl space.  From there it runs under the hallway to the middle of the family room through a cut in the old foundation.  Takes a left turn and passes through another cut in the old foundation. Crosses over to the laundry room where it rises up through a triangular wall feature up to where you see it in the picture.

The master bathroom.  The shower is at the end.

The wallboard is being delivered!

12x4 foot pieces.

Ah, so that's how they did it.  Nonetheless, it's quite a maneuvering job.

Unfortunately the flash did not activate here.  Looks like they are stacking the boards.

Another picture of the relative placement of the joist, light and HDMI cable for the yet-to-be-installed projector.

The lights are being tested.

Our front door has been delivered to our door guy. 

Monday, December 17, 2012

December 16, 2012: Almost ready for the wallboard.

The back of the house is nearly ready for stucco.  The patio ceiling gets a special metal mesh.  The columns are almost done.

The bay window at the kitchen sink is ready.  The old foundation was low to the ground (not to code these days).  The weep screed is also low.  We'll need to be careful not to cover it with dirt.

The main electrical panel is in a wall in the living room.  We were a bit concerned about it getting drilled into by someone trying to hang some art.  So, we asked the Industrial Arts teacher at LGHS if he, or one of his students, would make a protective metal plate.

His students weren't interested in doing the job, but he was (Thank You!).  These are the results.  Three  plates to armor the wall.

This is how a plate will sit.  The other two would mount above.  Awesome!

The underlayment is nearing completion.  This is 3/8" plywood.  It gets nailed and glued to the subfloor.

The A/V and server closet looking a little more finished with the underlayment.

Another picture of the Ethernet, HDMI, telephone line and TV coax cable routing up from the under stair server closet out into the attic.

While I was expanding the size of the air vents under the gables in the California roof.  I wanted to get a picture of the main beam in the ceiling of Alex's room.  It's not centered on the room.  More on the California Roof:  I probably didn't take a good picture of the California Roof framing.  Here is an example on the web: Picture of California Roof framing. (Will open in new window)


The main support beam.  I've got a light up in the gable.  I'm going to expand the size of the hole to improve air flow from the gable vent through the California Roof into the rest of the attic.   We have a fan in the attic to remove the heat in the summer.

From the front corner in Alex's room.  The silver square thing in the ceiling is the heater vent.

Thursday, December 13, 2012

December 13, 2012: Work is resuming in ernest

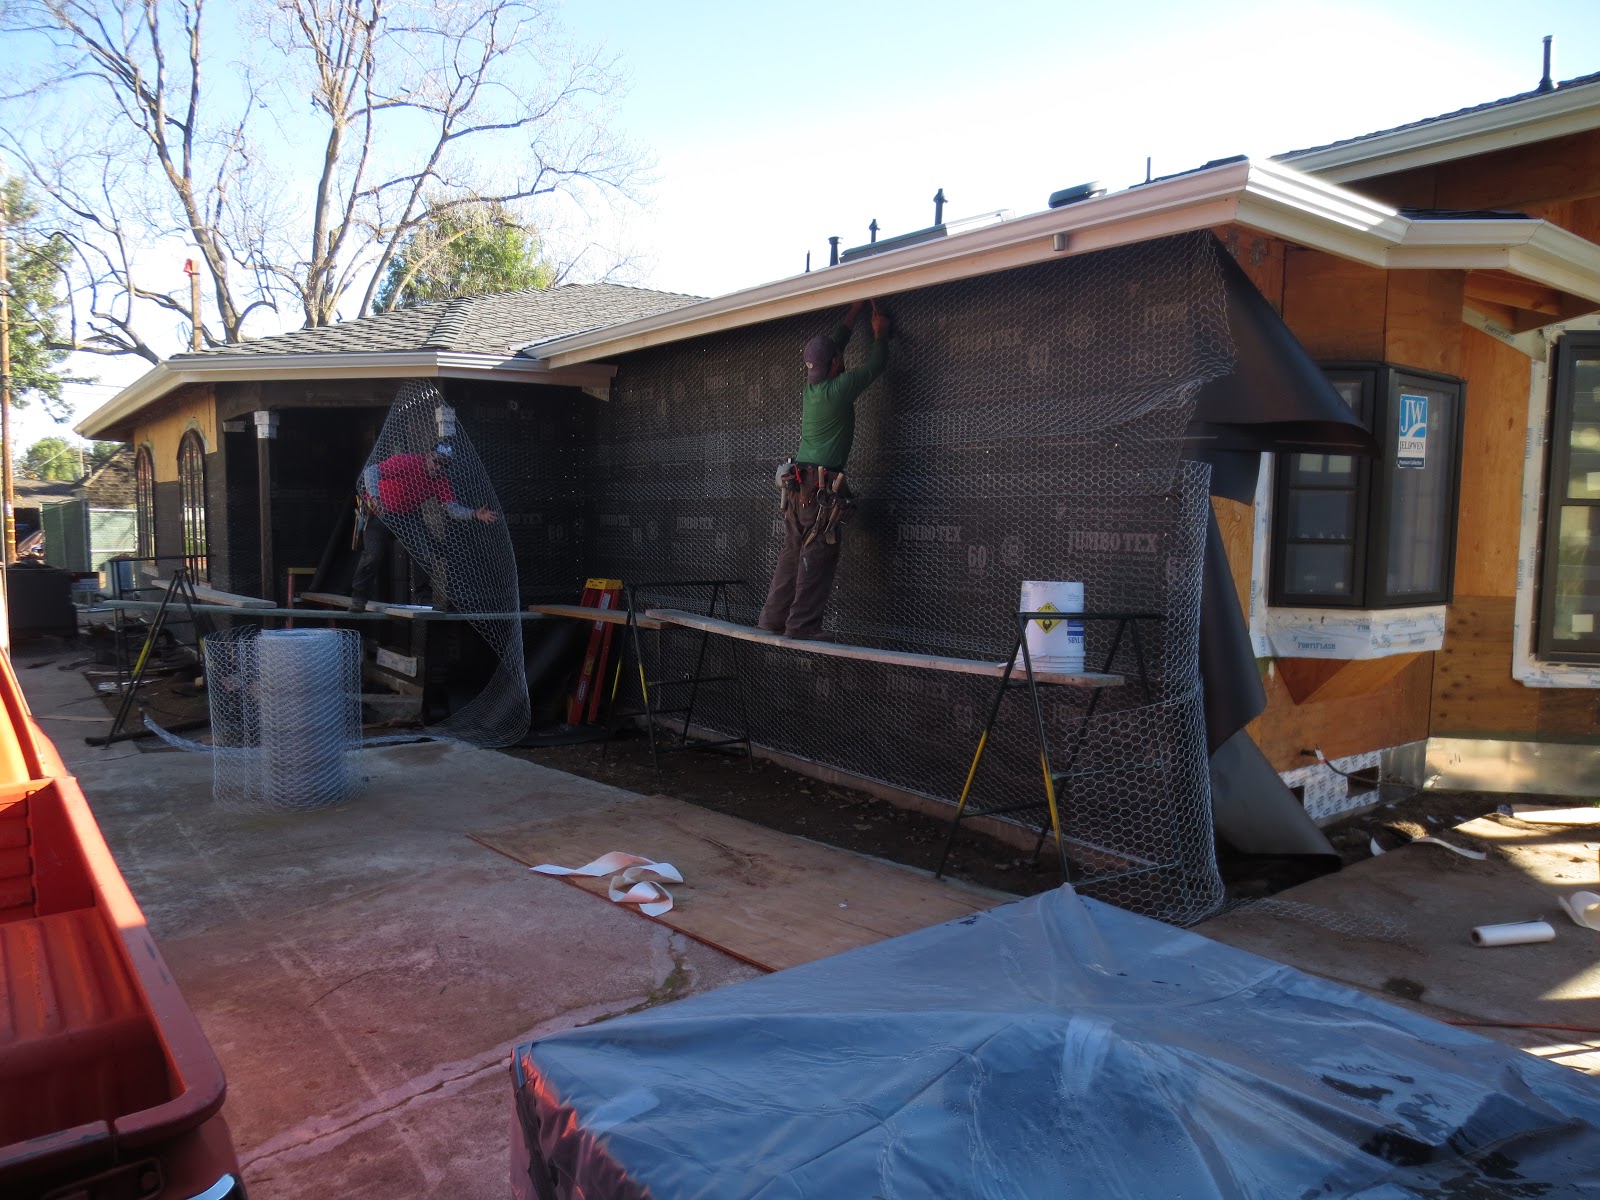
Adding paper to the outside in prep for the stucco

Same side of the house, but from the back near the garage.

The side (driveway) entrance.

Carlos is has built forms to fill in concrete around the entry.

Half the paper up on the front of the house.

Holes cut in the roof for the range exhaust.

Matt working out the fitting.

Office, laundry and guest room under floor heater ducting.

This is where the washer and dryer will be located. The entire 1st floor was insulated with R19.  Should be cozy.

Front of the house again.  The silver band at the bottom is the weep screed. Find out more about weep screed here: A youtube video describing weep screed. (will open new in new window)

All covered now.  We're going with square corners.  There are special corner pieces that are different for square or rounded corners. I have pictures of them when they get attached.

The front of the house is almost covered too.

Just covering the plywood makes the house look more finished.

The side (driveway) entrance is covered.  The polygon shaped area will be a door level landing.  We're going to have a 'well' around each of the vents.

Beth and Francisco working on cabinet details.

Matt has the exhaust vents installed.


This is the switch box for the kitchen and back patio.  There is a triangular empty space behind.  I wanted to record that.