Saturday, December 29, 2012

December 29: Wallboard has started

A team of two started upstairs during between Christmas and new years.  They did the closet in the master bedroom first.

This is Evan digging out the sewer cutout.

Back to the upstairs.  The wallboard is going up quick.  It's a very dusty job.  The snowy look to the picture is the wallboard dust floating in the room.

This is the master bathroom.  The shower is not yet done.

The wallboard is going over the internal sheer wall.  The studs to the right of the sheer wall were furred to match.

They've gone home for the day.  Getting very close to complete.

The shower has some green board up now.

A diversion... These are the vent stacks for the stove exhaust.  Two 8" pipes.

The wallboard team moved down stairs to the living room.  Ceiling first, I guess.

These guys move quick.  They are doing a good job.

Sunday, December 23, 2012

December 23: Wallboard preparation

PG&E marked the location of the utilities on the ground. The yellow is the path of the gas line.

The yellow dashed line where the gas line runs under the front yard.  The white square (and line?) is where the sewer cut-out needs to be dug.

A closer view of the gas termination.

The ceiling Beth's office is insulated.  Cali is standing in the hallway next to the stairs.

We added blocking in between studs in areas that we might be mounting art.  This is the stairwell.

This is the master bedroom.  How did they get those sheets of wallboard up here?

The family room loaded with wallboard ready for the post-christmas installation.

This is the blocking for the TV wall mount.

We added some blocking in front of the armor plating.

Some blocking above the fireplace.  We wrote down the centers (height from floor) on the plans that Cali is holding.

This is the wall behind the fireplace.

This is the wall behind the powder room.

This is the wall between the two windows in the living room.

This is the powder room.  The blocking here is for the TP holder.  I think all bathrooms got TP holder blocking.

This is the wall opposite the patio doors in the family room.

This is the wall to the right of the kitchen in the family room.  I wanted to capture where the strapping and plates were located.


Saturday, December 22, 2012

December 22: Insulation is added

Entryway with insulation.  We are also insulating the interior walls.  This will make the house a bit quieter.

The front right corner in the living room.

Backing into the same corner and turning around.  The rest of the living room now insulated.

The clipped corner with the electrical box covered in insulation.  The armor plates are ready for installation.

The dining room part of the living room.  Looking towards the hallway.

The family room (great room) from the hallway.

The kitchen is being completed.

They use this forked stick to push the insulation in place.

A view of the partially insulated kitchen.

A view of the family room with insulation.

Cali's bedroom looking towards the closet.  I redid the closet opening (made it wider) so that we can reuse some nice solid wood bifold doors.


Cali's bedroom.  The plywood are interior sheer walls.

Cali's room again.  On the left is the bathroom she'll share with Alex.

Entrance to Alex's bedroom.

Alex's bedroom.  She's got interior sheer wall too.

The bathroom shared by Alex and Cali.


The stairwell.  The wall on the left is a large sheer wall. The hole below the window is the HVAC return.

The guest bedroom.  Lots of interior sheer wall here.  We still need to get the ceiling insulation.

The laundry room.  More sheer wall. The side door.  The washer and drier will be against the wall on the left.

Another picture of the stair well from the half-way landing.  More sheer wall.

The master bedroom from the door.

The master bedroom again. The door is to the right.  More sheer wall...

The master bedroom closet.

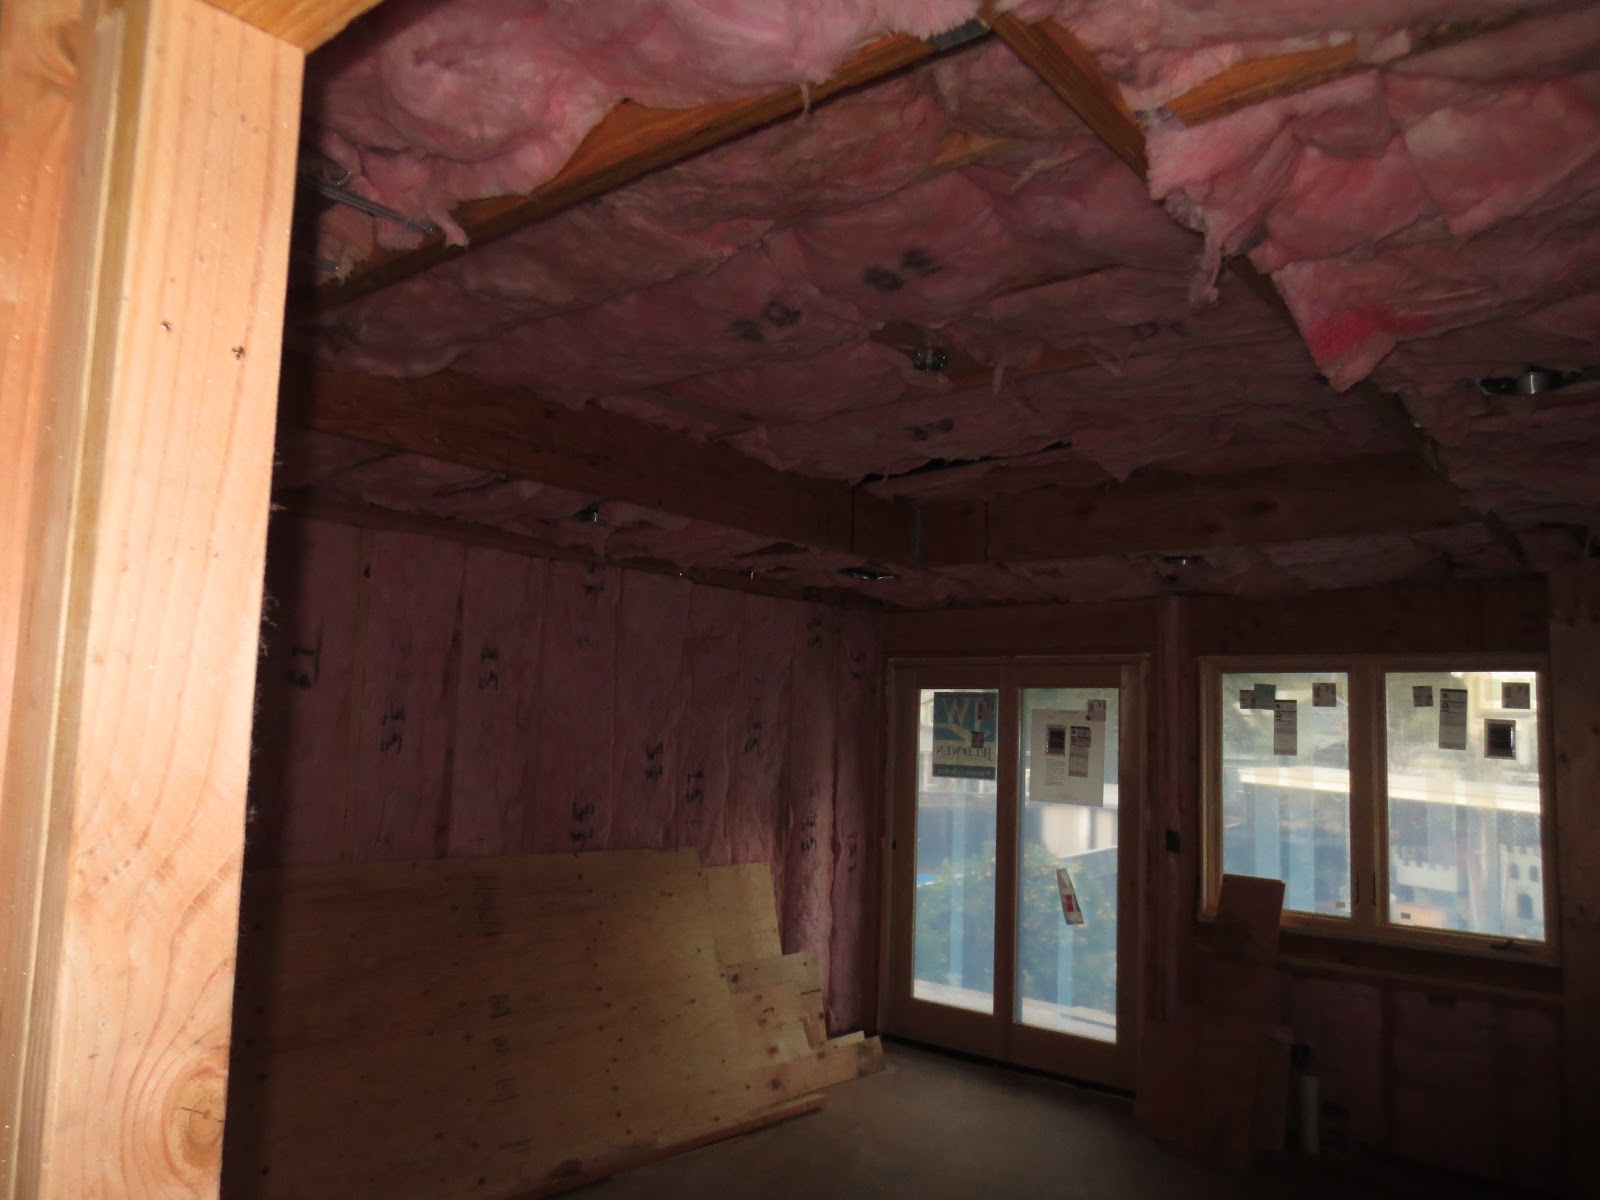
Inside the master bedroom closet.  The heating duct comes through here up from the laundry room.  This particular duct takes a long route.  The units are in the attic.  A large supply line drops down near the front of the house to the crawl space.  From there it runs under the hallway to the middle of the family room through a cut in the old foundation.  Takes a left turn and passes through another cut in the old foundation. Crosses over to the laundry room where it rises up through a triangular wall feature up to where you see it in the picture.

The master bathroom.  The shower is at the end.

The wallboard is being delivered!

12x4 foot pieces.

Ah, so that's how they did it.  Nonetheless, it's quite a maneuvering job.

Unfortunately the flash did not activate here.  Looks like they are stacking the boards.

Another picture of the relative placement of the joist, light and HDMI cable for the yet-to-be-installed projector.

The lights are being tested.

Our front door has been delivered to our door guy.